
Blueprint API - Qwilr for sales and marketing automation
With our Blueprint API, you'll be able to mass-produce personalized Qwilr Pages from a CSV upload.
In this article:
Note: If you're using HubSpot or Salesforce, please use those links to find out how Blueprints work with those integrations.
Creating a CSV
Step 1. First, build a spreadsheet with the client data you’d like to include in your Qwilr Pages. The titles of your spreadsheet columns should be the same as the custom fields you'll be using in your Qwilr template. (See below for more on custom fields.)

Step 2. When your spreadsheet is ready, export it as a CSV file. Be sure to use the UTF-8 coding option.
Creating a Blueprint template
Step 3. Create a Qwilr Page and add your custom fields to the content. The custom fields need to be wrapped in two sets of curly brackets. like this {{ }}. They have to exactly match the column titles in your CSV file.
For example, if you have a column in your CSV named companyName, the custom field you’d add to your Qwilr Page would be {{companyName}}.
Note: It's best not to include spaces in your custom fields.

Tip: It's a good idea to include one of your custom fields in the page title as well. That way, when you create Qwilr Pages in bulk from your template, each page will have a unique title and it's much easier to tell them apart. If you don't use a custom field in the template title, every page you create from it will have the same title.
Creating Qwilr Pages in bulk
Step 4. Once the CSV and the Qwilr Page are done, you're ready to create Qwilr Pages in bulk. During this process, your Qwilr Page will also be turned into a Blueprint template.
There are 2 ways to upload a CSV to Qwilr:
Method 1: On your dashboard, locate your template and click the More Actions icon (3 dots). Then choose Create Blueprint from the drop-down menu.


Method 2: Alternatively, you can open the page, head to the top right corner, and click the More Actions icon (three dots). Then choose Blueprint.

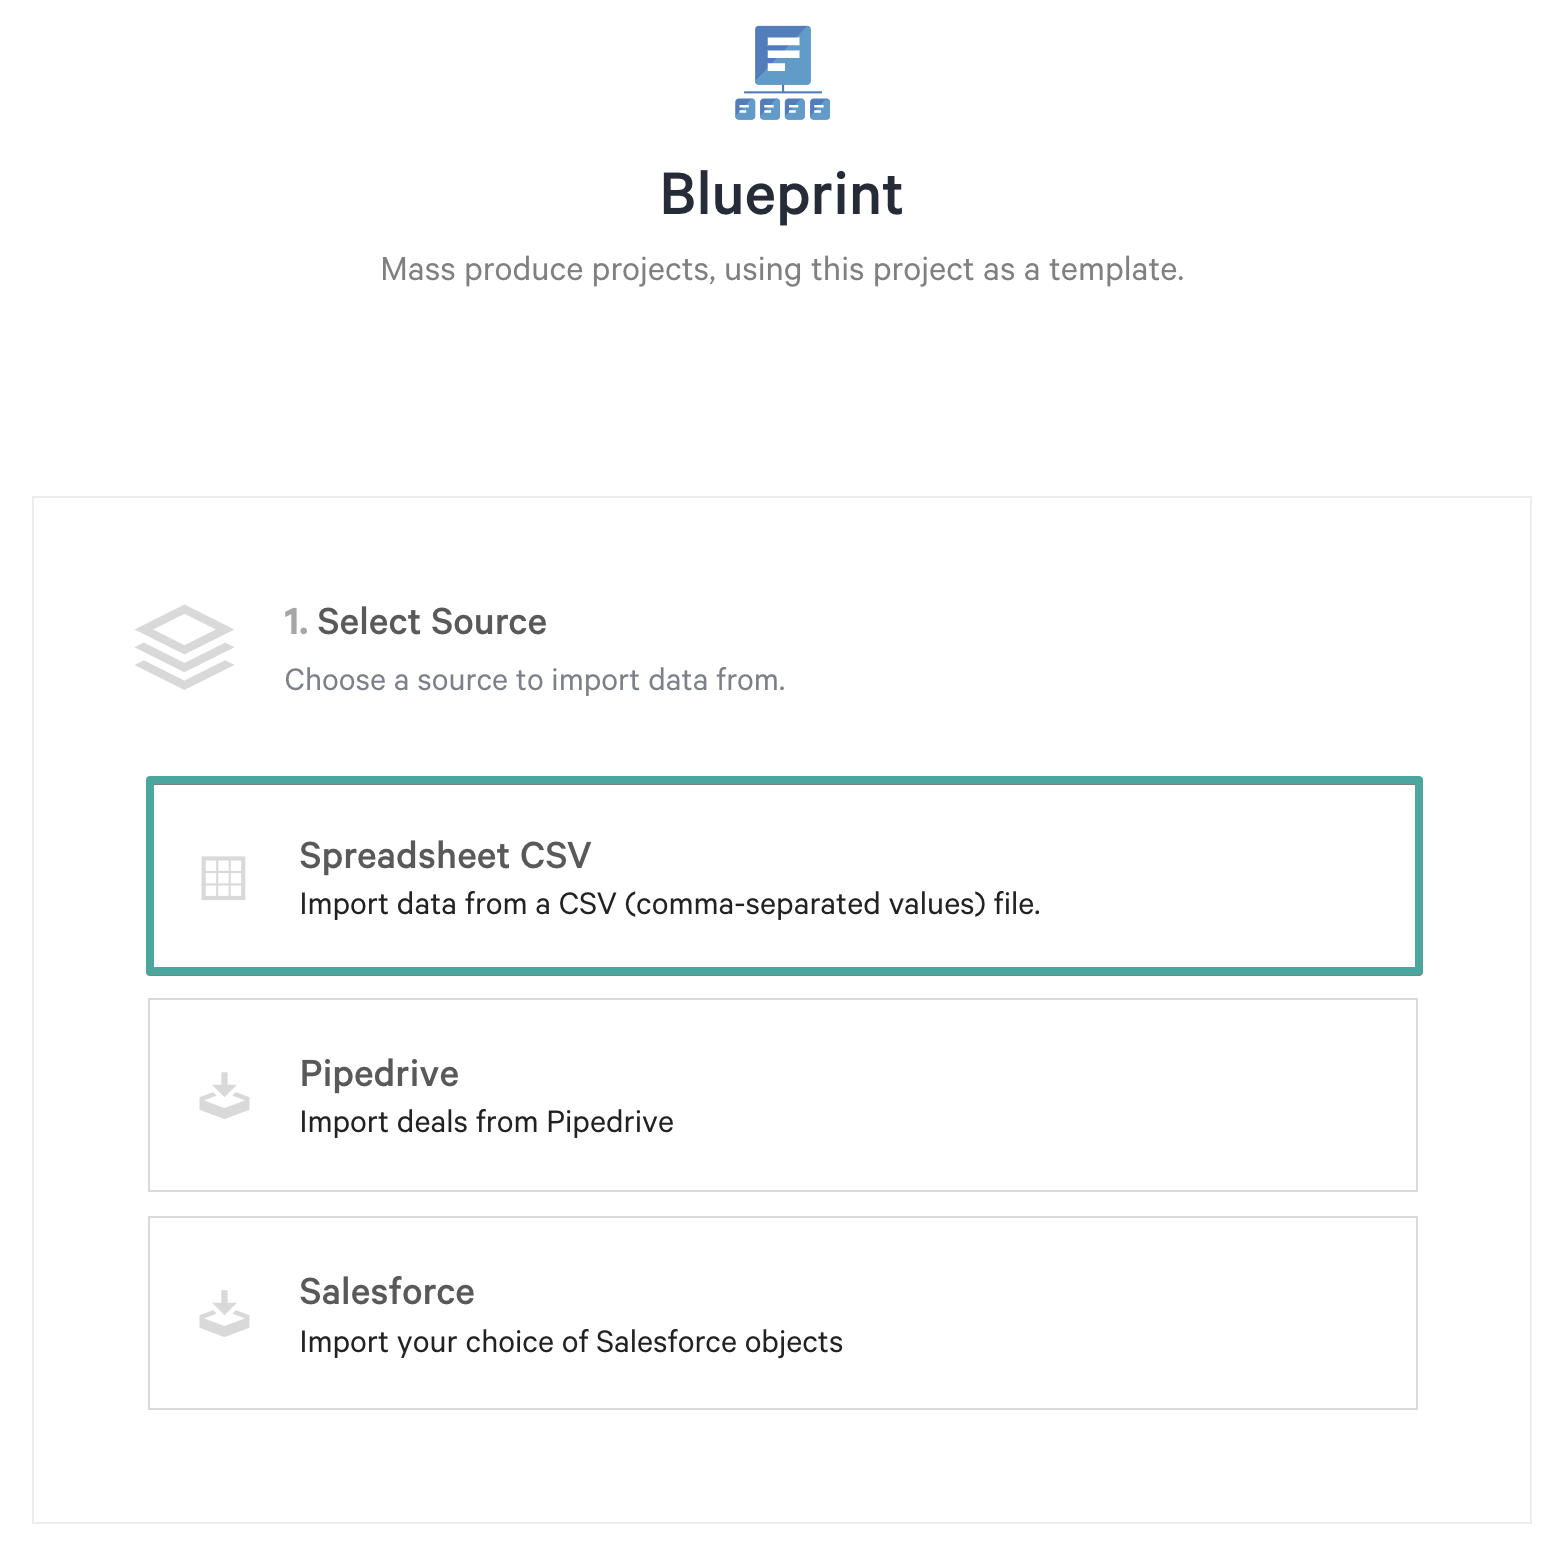
Step 5. A pop-up will appear. Select Spreadsheet CSV.
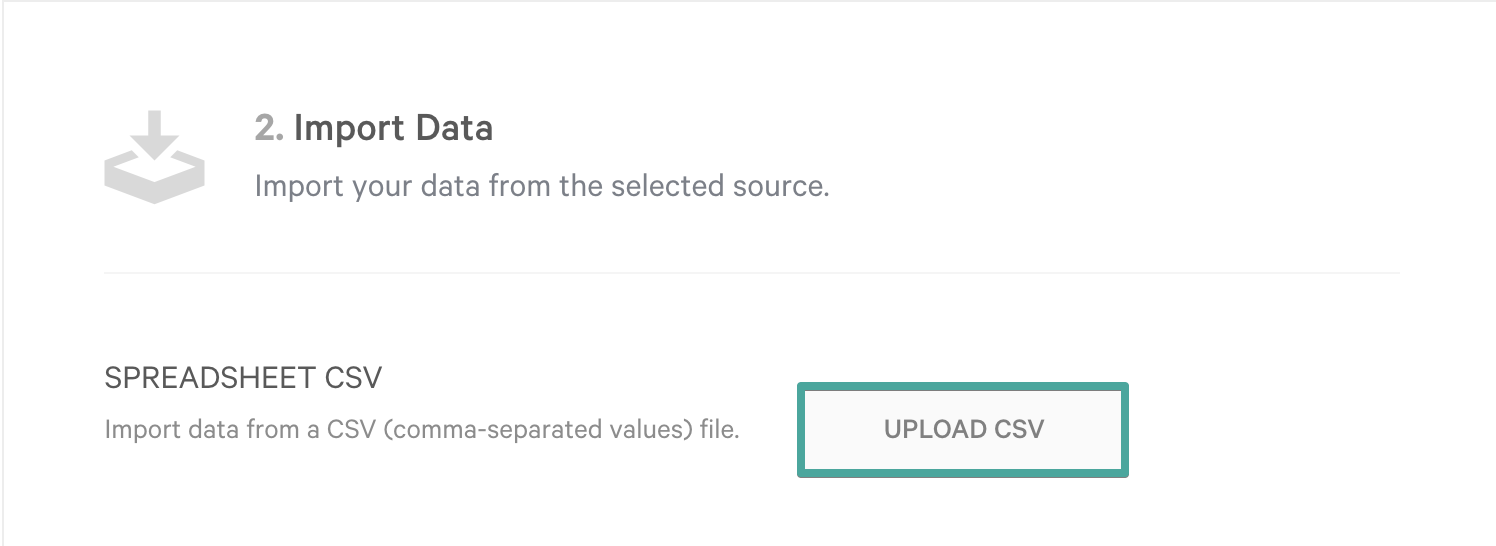
Step 6. Click Upload CSV and choose the CSV file from your computer. You'll then be able to preview the results. If everything was done correctly, you will see variables correctly match the info from the CSV.

Step 7. If everything looks correct, click Build Projects. You will also be able to see how many Qwilr Pages will be built as a result.

Note: You can build up to 50 Qwilr Pages from a single CSV. You can also use more than one CSV file to build pages from the same template.
Downloading a CSV with links
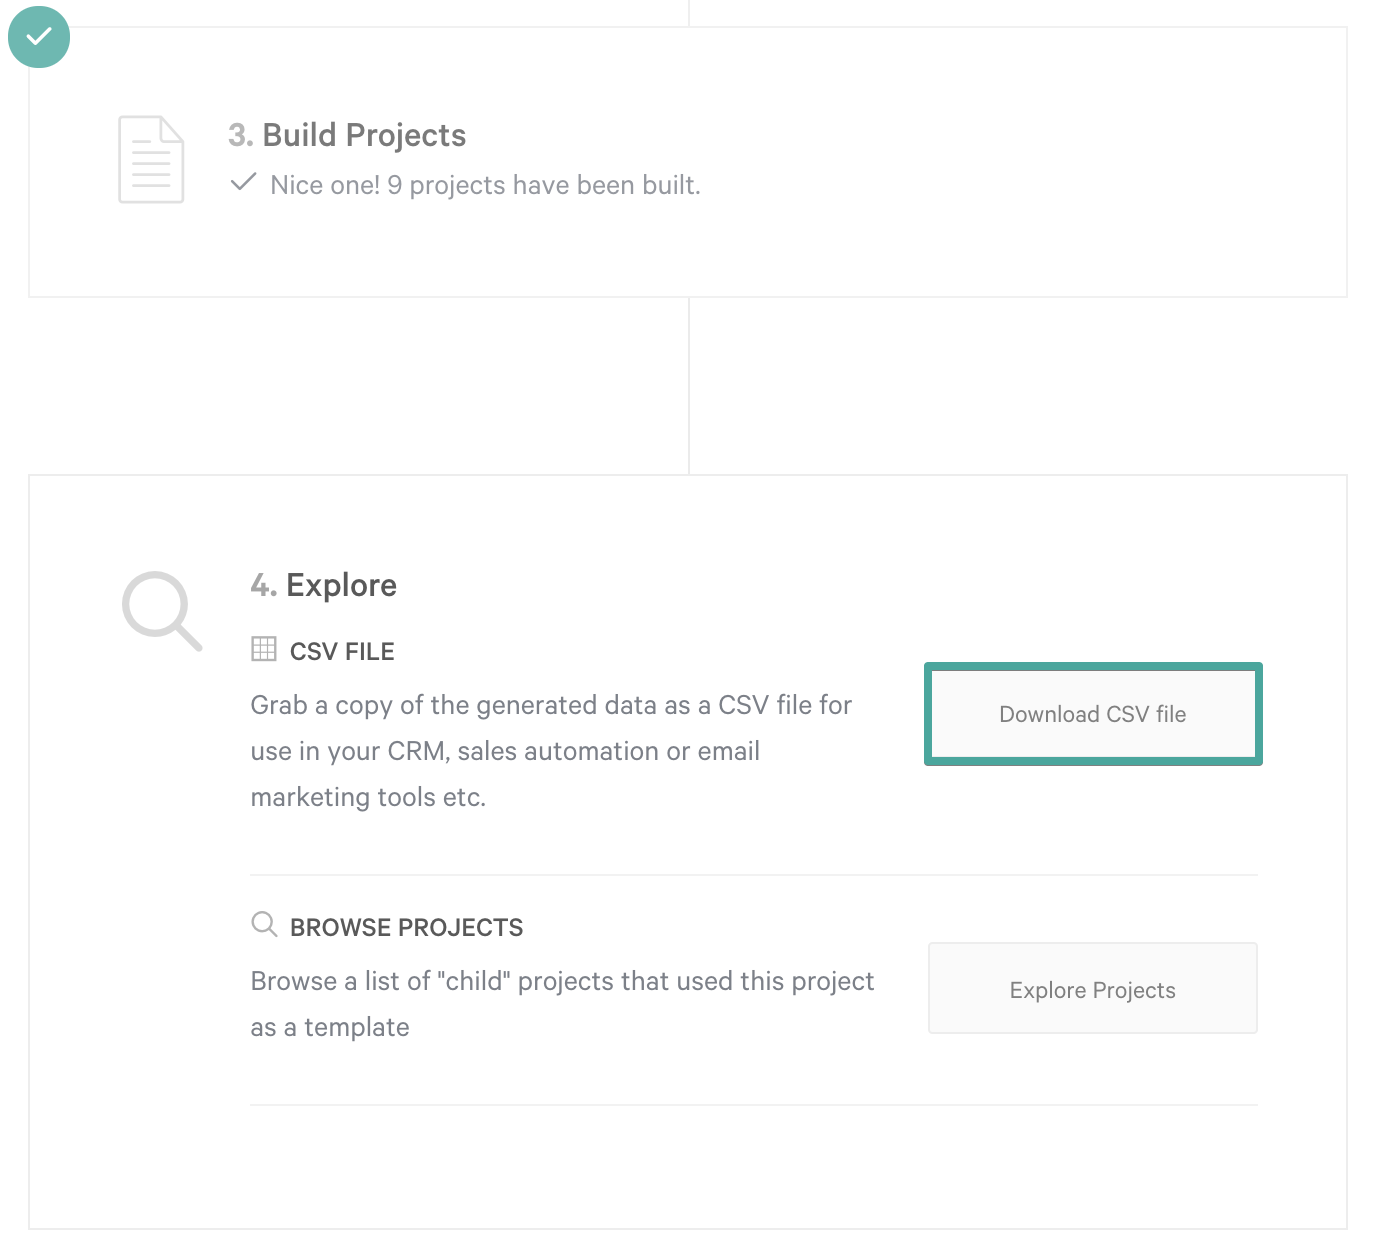
You'll see the display on this page update once the pages have been created. Now, you'll be able to download a CSV that contains links to every Qwilr Page that was built.

Browsing the pages you've created
To browse the new pages, you can click on the Explore Projects button.

Alternatively, you can hover the Blueprint's title on your dashboard to reveal the View Children button. Click it to see a list of all the pages that were created from this template. You will then be able to click into each separate page to edit it, or use the search bar to look for a specific page.
